Glass tile made easy: Shattering the complexities of installation
Six crucial aspects of installation
More vulnerable to chipping and cracking than ceramic, glass tile must be handled carefully and installed according to manufacturer specifications. Glass tile should never be placed in areas susceptible to sudden and extreme temperature changes. Similarly, installing glass tile in a sunny exterior location at risk for cold water shock would significantly increase the chance of tile breakage.
Whether the glass tile installation is interior or exterior, involving walls, floors, pools, or fountains, the following installation methods will optimize installation success.
1. Substrate preparation
Successful glass tile installations start with sound, solid, stable, and plumb substrates such as completely cured concrete, brick, masonry block, cement backer unit, and gypsum board (in dry areas only), along with many others. It is important to always check the glass tile manufacturer’s specifications sheet for a complete list of approved substrates for each application. All installations should follow industry guidelines including ANSI A08.16, Installation of Paper- Faced, Back-Mounted, Edge-Mounted, or Clear Film Face-Mounted Glass Mosaic Tile.
Uneven surfaces (even loose sand left ‘here and there’ on the surface) may prevent proper transfer of the tile-setting mortar to the back of glass pieces. This can result in the loosening of some pieces over time. Therefore, a flawless surface preparation is recommended.
All crack and subfloor concerns must be addressed before installation to prevent existing or potential cracks from transferring through the glass tile. Manufacturers offer a number of surface preparation products including skim-coating and patching compounds and self-levelling underlayment to help prepare/level substrates for the installation of glass tile.
2. Addressing cracks
Protecting glass tiles from movement beneath may necessitate the installation of crack-isolation membranes over recommended substrates before the actual tile. It is important to always consult the recommendations of the Terrazzo Tile & Marble Association of Canada (TTMAC) and the tile manufacturer regarding glass tile installations over such membranes.
3. Account for joint movement
Since glass tile has a high degree of expansion and contraction, adequate movement joints are essential to help compensate for variable rates of movement between the substrate and tile. It is recommended to refer to current specification guide from TTMAC for proper placement of expansion and control joints.
4. Tile setting mortar selection
Premium tile products deserve premium adhesives. To avoid shading and to optimize the bond of glass tile to walls or floors, it is advisable to use white, polymer-modified, flexible thin-set adhesives, which have been shown to offer the best performance for glass tile products.

As stated in the Ceramic Tile Institute-America (CTIOA) report, “Direct Bond Thin Set Method Glass Mosaic Tile Over Exterior and Interior Portland Cement Mortar Beds (cured 7 days) and Cementitious Board Units (CBU),” “Keep installation surfaces out of direct sunlight, and wind, using screens, tarps, and canopies to reduce the problem of skinning over (slight drying of the setting material surface) during installation.” Installations must also be protected from excessive heat, rain, and freezing temperatures during installation and curing.
Sheets of mosaic should be placed in position as accurately as possible and tapping the sheets gently using a beating block and a hammer or using a rubber float to achieve a flat surface as well as to maximize contact with the tile-setting mortar, gently but thoroughly.
5. Grouting products
Choice of grout is determined based on joint width and glass tile surface. For glass tile installations involving scratch-prone surfaces and narrow grout joints less than 3 mm (1/8 in.) wide, non-sanded grouts are recommended. Sanded grouts are suitable for glass tile surfaces not prone to scratching and for joints measuring 3 to 19 mm (3/4 in.) wide. Ready-to-use (RTU) grouts is also an option. For installations requiring a stain-, chemical-, and impact-resistant grout it is advisable to consider using reactive resin grout (typically epoxy type grouts).
Tile installation products should be mixed and applied as per the strict instructions contained in the respective technical data sheets.
6. Treating the surface with a sealer
Since glass tiles are impervious, they do not require sealer. However, cement-based grouts should be sealed if they are likely to experience stains. A penetrating sealer will help make future cleaning and maintenance of the grout easier.
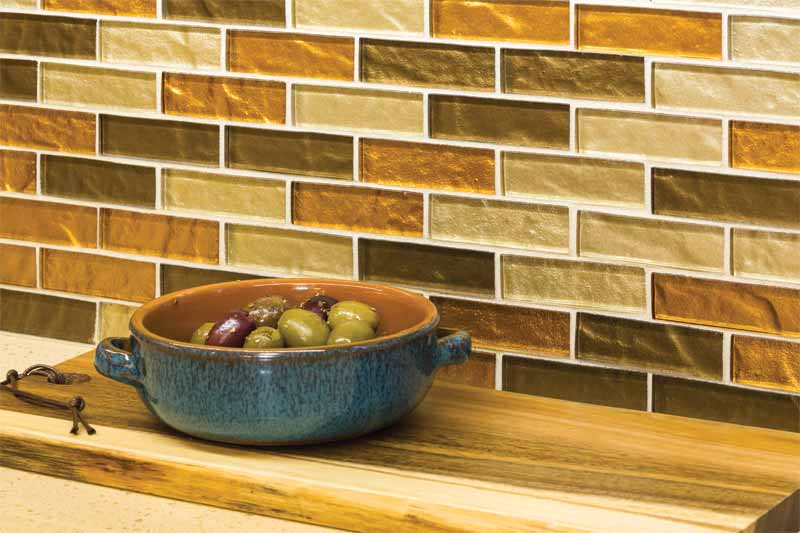
Due to its reflective properties glass tile help intensify light and colour, brightening darker spaces and making the most of limited light. They offer the best of both worlds—beauty as well as practicality.
Sign up for our weekly newsletter
Construction Canada weekly newsletters give the latest AEC industry news for those who build, design, engineer, specify, renovate or operate in the built environment.
Related Products & Services


Read the Latest Issue