Adding flair and functionality to glass with digital printing
Comparison to other glass enhancements
In the past, when there was a desire to add a visual design element to a building’s façade or interior, architects have by and large been limited to a narrow range of products and methods, including silk-screened designs and various interlayer systems. Each has its advantages and disadvantages.
Silk-screening is usually most cost-effective when there is a desire for just one or two hues, a repeating pattern is used, and there are many units to be silk-screened. However, the actual screen used in the silk-screening process can be cost-prohibitive and it is limited in the number of prints it can produce before it reaches the end of its useful life. Printed and coloured interlayers can be useful when solid colours are required, but they can only be employed in laminated makeups.
Characteristics of ceramic ink
The inks in digital printing are very similar in nature to the frit used in the silk-screening process. Both frits and inks are ceramic-based; they perform and behave almost identically to each other. The main difference is the latter is produced with smaller particles of glass to allow the inks to flow through the print head onto the glass substrate. The inks also contain inorganic pigments, which help them to be as colour-stable as ceramic frit over the life of the printed image.
Although the ceramic inks are durable and resistant to scratches and weather, care must be taken to protect the image from damage, especially when it is exposed (e.g. on a monolithic piece of glass). With proper maintenance and protection, the printed image should be expected to last the unit’s lifetime.
The inks used in Canada and the United States contain no heavy metals such as cadmium or lead—consequently, some brighter pinks, reds, and purples may be difficult to achieve. Even with that limitation, a wide gamut of colours can be attained by mixing the base ink colours into final printed colours. All of the colours will have similar ultraviolet (UV) fading resistance.
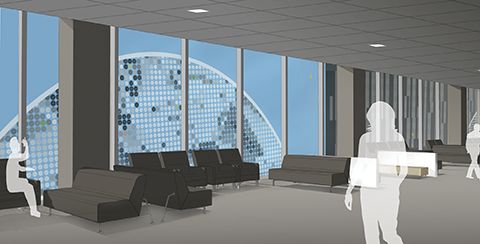
The inks are also able to be applied by the printer at varying thicknesses to achieve design results like solar control or desired colour variations. For example, blue ink tends to be more translucent than other colours, so a print with more blue in it may allow more light transmission to the interior of the building during the day. A design incorporating more blue than other colours may also let out more light at night as viewed from the exterior of the building.
Since digital printing is so versatile with regard to colour selection, ink opacities, and design choices, the calculating of performance data can become quite complicated, especially when the print is artwork versus a dot or line pattern. Artwork can involve multiple colours and ink opacities in random layouts, potentially making performance data variable across the image. If specific performance requirements are specified, the designer and architect should work with the glass fabricator as early in the design process as possible to achieve the desired performance metrics.
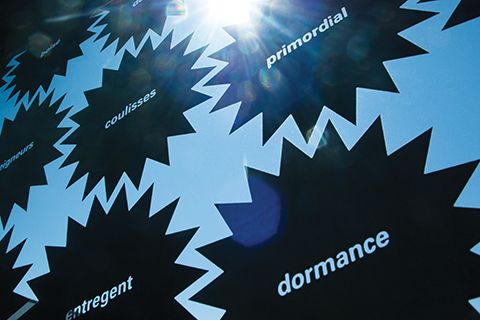
If the intent is to limit the transfer of light, the various colours can be applied at different opacities to balance the amount of light transferred. However, the reverse is also true. If the intent is to create a façade that essentially glows with a stained glass effect from the interior or exterior, the image can be adjusted to achieve the desired outcome. Viewing small-scale sample and large-scale mockups of the print in the final makeup at the target location and environment for an accurate representation of how the colours will actually appear is recommended.
The digital print process
The actual digital printing procedure can be separated into two distinct but dependent processes—electronic design file manipulation and printing the actual image on the glass substrate.
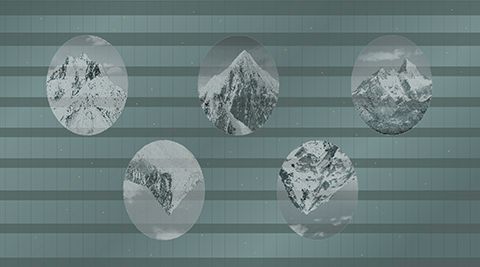
The electronic design files can be produced in many different formats. Raster and vector-based images are both acceptable in this process, but the latter are printable at any size without resolution loss, so they tend to be preferred. Proper preparation of the image files is one of the most critical steps in the entire process. The quality of the printed glass can only be as good as the file used to generate the print.
The design files can be individually designed for each unit to be produced, or the entire elevation can be designed as one file and the software can tile the image across the façade. The glass fabricator’s software can also adjust the image for the inclusion of items such as mullions and holes for point-supported glass so the image flows seamlessly from one pane to the next. Finally, the software rips the image into a final digital file that will be used at the production stage.
These electronic files are then sent to the printer where the image is interpreted and the ink is deposited onto the glass substrate. Once the lite of glass has the image printed on it, it is sent through an infrared tack oven to dry the ink. At this point in the process, the ink has a matte finish and has not permanently adhered to the glass substrate. The printed image is sent from the tack oven through a tempering oven where it must be either heat-strengthened or fully tempered to permanently fire the ceramic ink to the glass.
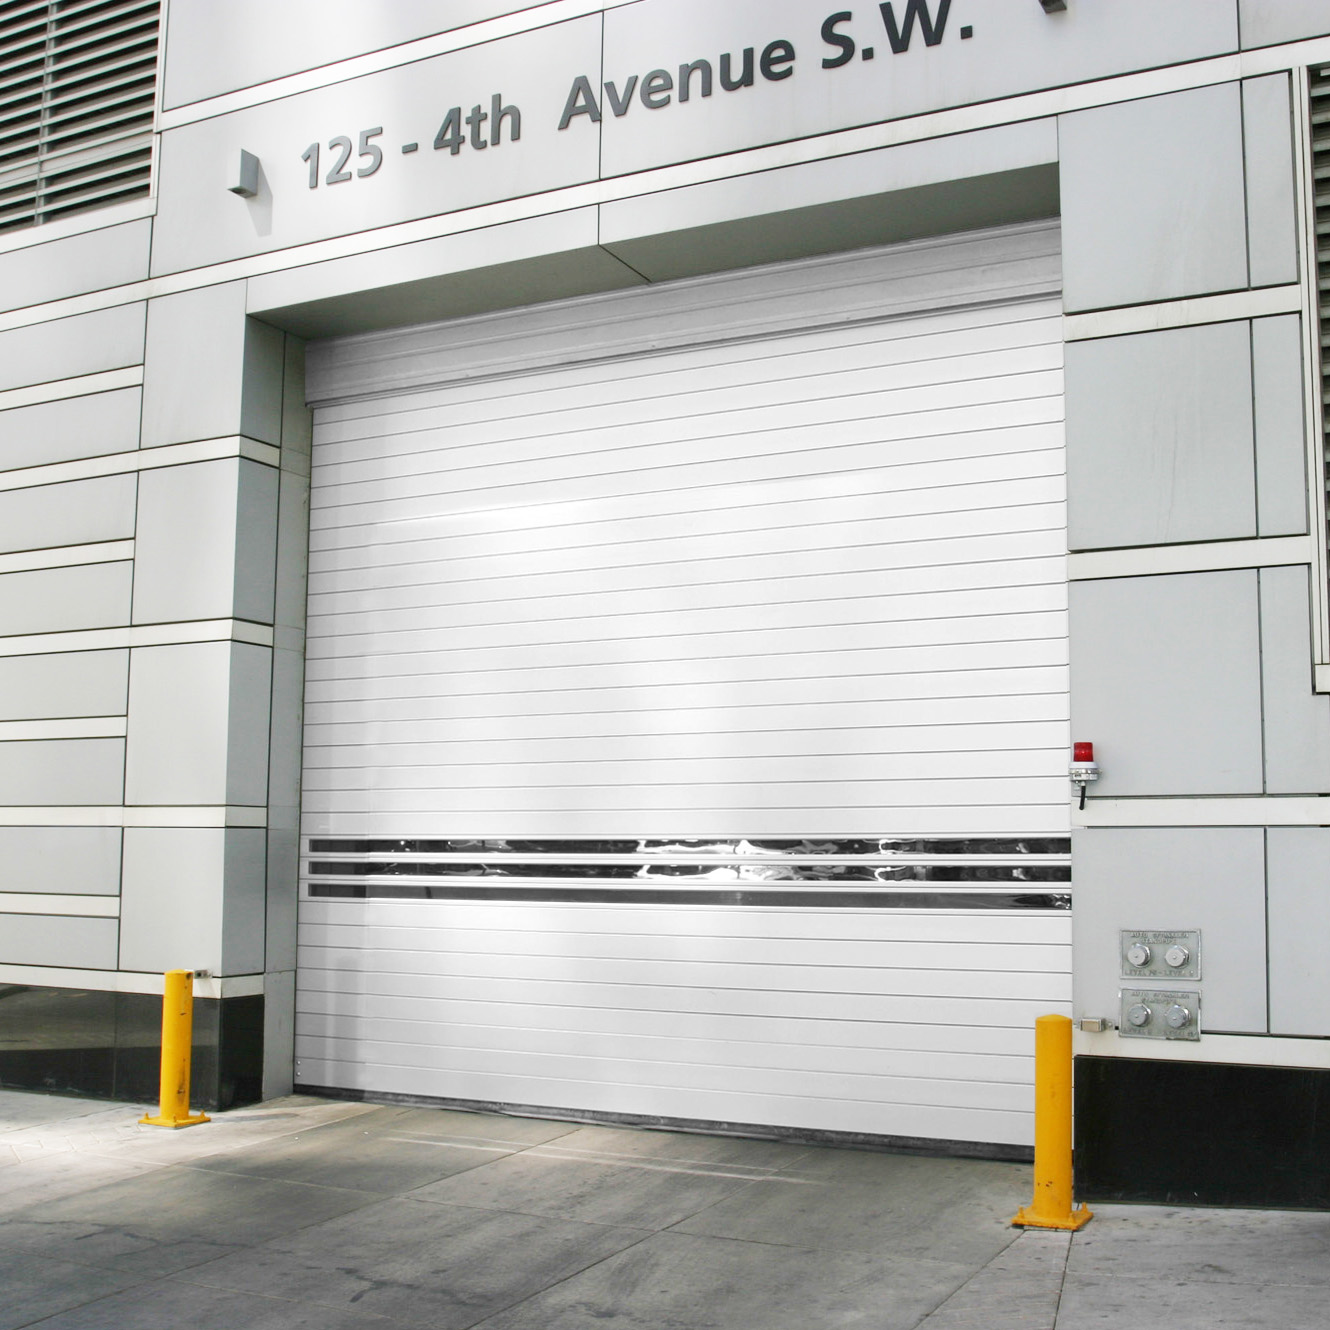
It is only after being permanently fired to the glass that the ink takes on a glossy finish. From here, the printed glass can be directed to other processes, including having a coating applied, laminating, and insulating lines. If it is to be used in interior applications, it might even be left in monolithic form.
Sign up for our weekly newsletter
Construction Canada weekly newsletters give the latest AEC industry news for those who build, design, engineer, specify, renovate or operate in the built environment.
Related Products & Services
Read the Latest Issue