
By Jeff Fuller
The finishing of ceilings quite often takes a backseat to many other esthetic categories like flooring and trimwork. Nevertheless, by overlooking the ceiling, one may be missing out on a significant architectural and decorative aspect of the project. In terms of a visual ‘look,’ the ceiling can be just as important a design item as the flooring.
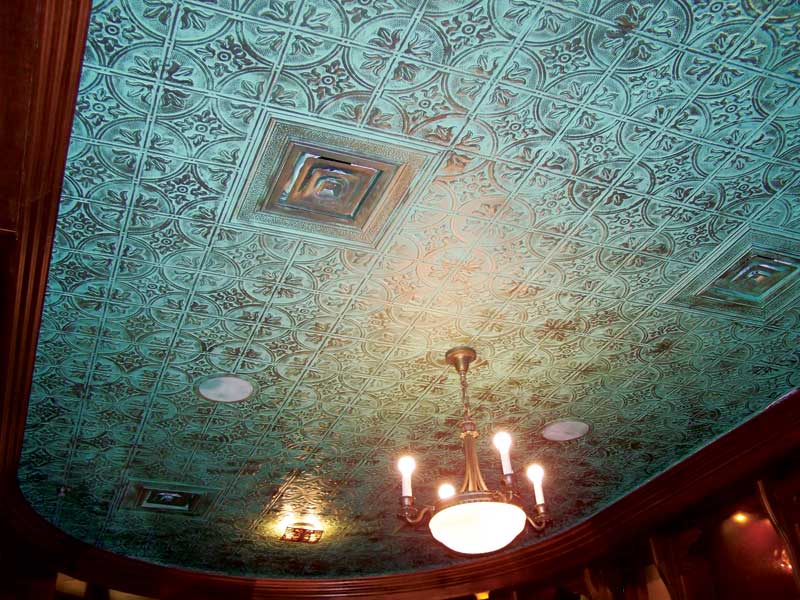
The beauty and historical accuracy of tin ceilings can bring to life residential, restaurant, or hospitality spaces. What was once considered an answer to the wealthy European ornate plaster ceiling became a standard for the middle class. Unfortunately, real tin panels are now extremely hard to find. Salvaging used items can be a very trying process to get what one wants as far as style, and can also come at a very high cost.
To mimic the look of real tin, product manufacturers have developed decorative panels in metal and thermoformed styrene (i.e. faux or plastic) options. With styles ranging from Victorian and Classic to Modern, these finishes can be used not only for high-end residential and hotel spaces, but a wide range of building types.
As with any material in the construction industry, however, the cost factor is very important. Deciding whether a metal or styrene product is the best fit can be determined by considering the materials’ advantages, pricing, and installation techniques.
Metal panels
Metal panels cost more than faux panels. Copper and brass are the most expensive—approximately $75 to $96/m2 ($7 to $9/sf)—and typically used on extreme high-end applications or for historical accuracy. Steel and aluminum are slightly less expensive at $21 to $42/m2 ($2 to $4), but still come with a high price tag. There are two other additional costs that come into effect with metal panels: the labour and the substrate. These metal panels can be used in either a grid system or applied directly to a solid surface such as plywood.

Steel panels are very similar to aluminum products in many ways, and both are made in the fashion of a press-like stamping. The former’s advantage over the latter is the strength of the panel and its availability. Aluminum, on the other hand, is lighter to work with, and will not rust. Therefore, this material is typically used in areas that will be exposed to humidity or wet conditions, such as backsplashes.
Metal panels come in a few different sizes, the most common being 0.6 x 1.2 m (2 x 4 ft). The difference in sizing comes down to whether they are being used in a T-grid or just being applied to a wall or ceiling surface. Metal panels can weigh about 1.4 kg (3 lb) in comparison to 0.5 kg (1 lb) for styrene. This weight is not an issue when using a T-grid suspension system or when the proper framing is specified.
Installation
Installation of metal panels can be very labour-intensive. Finding a contactor that has the experience and know-how can sometimes be challenging. Before installation, there needs to be a substrate applied to the ceiling or wall; this can be in the form of plywood or 1×4 furring strips.
If using furring strips, one can adjust and shim while applying them to ensure there is a nice flat surface with which to work. If there is already a flat surface (e.g. a new construction scenario), plywood might be an easier way to apply the substrate. Furring strips would need to be applied approximately 305 mm (12 in.) on centre (oc). Cross-strips are also needed where the panels will be overlapping for additional support parallel to the furring strips.
Once the surface is prepared, the next step is making certain the panels are laid out in the most visually preferable way. When deciding where to start, important considerations include the locations of the entrances, the direction from which the light is coming, and how the cut edges will end. For example, at a main entrance into a room, it makes sense to start at the farthest point so the closer panels overlap the others to hide seams. (Another route would be to opt for a suspension system.)
When nailing metal panels in a direct application, it is important to drive the nail at an angle to give maximum strength and hold. The nail should be set in the nipple portion on the panel’s outer edge. This nipple or dot is designed for the nail application. When applying the next panel, one is overlapping at the panel’s dot dash area—this is where there needs to be additional support or furring. When a cut sheet is needed, the cut side is to be placed on the wall side. This cut edge can be hidden by a cornice.
The finishing of metal panels needs to be done before installation. This is because they need to be finished on the back side as well as the front to help prevent rust. Many times they are primed front and back before installation then after installation the desired colour is applied. One should avoid water-based paint as it will rust the metal. Any gaps occurring in the cornice edges can be filled in using a liquid solder prior to painting.
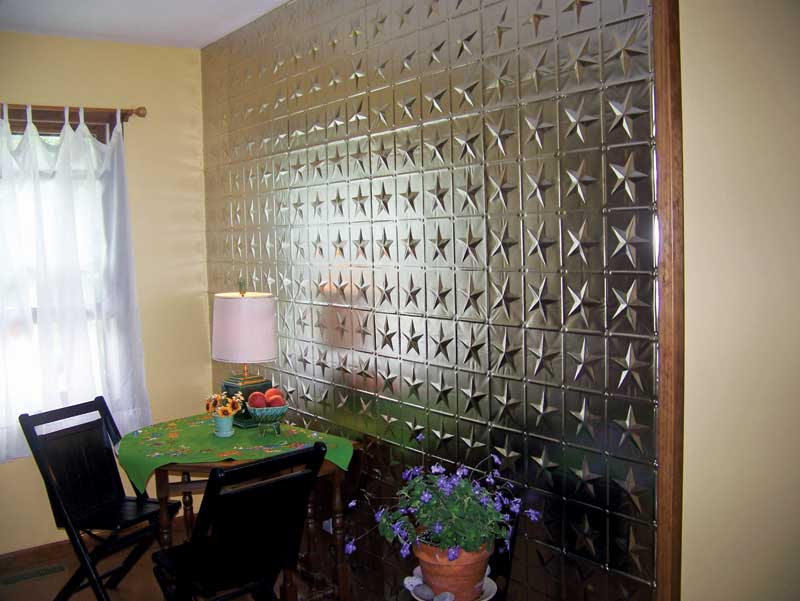
The metal panel is versatile, and can be used on walls, wainscotings, and backsplashes. Steel must be painted to prevent rust; the added benefit is this allows colours to be matched to the rest of the décor.
Styrene panels
As a synthetic alternative to metal, styrene panels bring some impressive attributes, including:
- clean, crisp detail;
- cost-effectiveness;
- solid colouring; and
- ease of installation.
As with metal panels, these styrene products are often 0.6 x 1.2 m (2 x 4 ft) to maximize coverage.


